This post is for day 1 of my #100DaysOfCode. In this post I'll be discussing how to programmatically tweet to Twitter using NodeJS.
Getting Authenticated
Get a Twitter Developer Account
You'll need to follow the instructions of the link above to create a develop account. This gives you access to creating a project and an app.
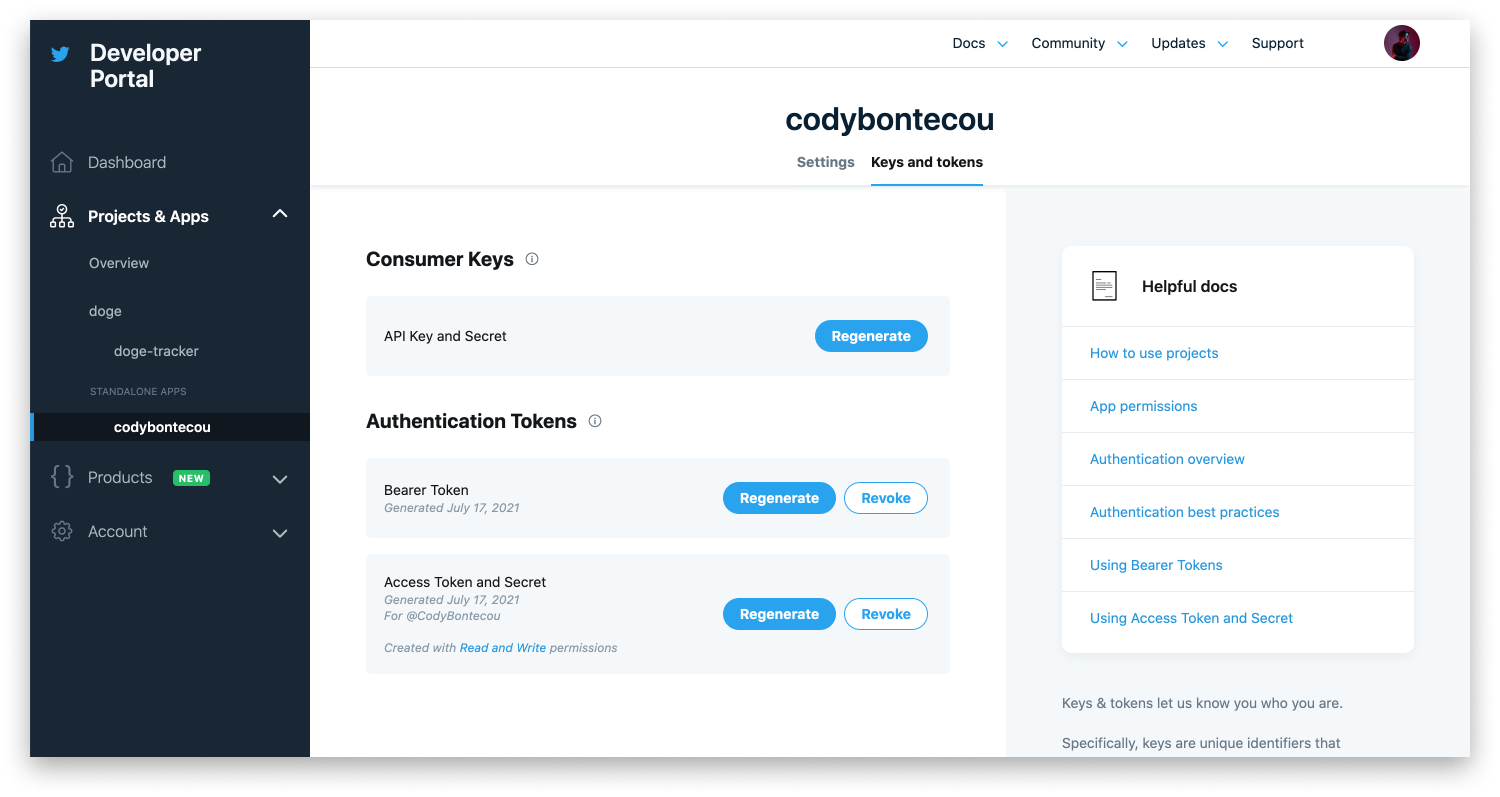
You'll eventually find yourself within the Twitter Developer Dashboard where you can generate authentication tokens that will be essential to making requests.
Laying the Foundations of Your App
Github Repo to follow along
Make sure you have NodeJS installed
I prefer yarn, but you can use npm instead if you prefer
- Scaffold your project:
yarn init -y - Download twitter-lite to interact with Twitter's API:
yarn add twitter-lite - Download dotenv to safely manage .env variables and your auth tokens:
yarn add dotenv
Your package.json file should now look like this:
{
  "name": "programmatic-tweeting-with-nodejs",
  "version": "1.0.0",
  "main": "index.js",
  "license": "MIT",
  "dependencies": {
    "dot-env": "^0.0.1",
    "twitter-lite": "^1.1.0"
  }
}- Create a .env file in your project root folder and add your tokens provided by Twitter's API
The .env file should look like this:
consumer_key = '<CONSUMER KEY>'
consumer_secret = '<CONSUMER SECRET>'
access_token_key = '<ACCESS TOKEN>'
access_token_secret = '<ACCESS TOKEN>'
Just make sure you replace the <> text with the tokens Twitter provided you.
Make sure you do not commit your .env file to Github or any other version control systems. These tokens are very important, and should not be shared with anyone!
Making the Post
- Create an index.js file in your project root
- Import the packages you installed earlier
const twitter = require('twitter-lite')
require('dotenv').config()- Create a client to talk to Twitter with your config
const client = new twitter(config)- Code the request
client
  .post('statuses/update', { status: 'Hello World' })
  .then(result => {
    console.log('You successfully tweeted this : "' + result.text + '"')
  })
  .catch(console.error)
Step #4 is creating a POST request to Twitter's endpoint statuses/update with the parameter status = 'Hello World'.
- Make the request
Now type node index.js into your terminal and press enter. This will generate a Tweet with the text "Hello World".
I hope this article was helpful, let me know if you have any questions, comments, or suggestions on Twitter @codybontecou